Grateful

This year for Thanksgiving, I traded the traditional family style gathering for an outdoorsy holiday instead. Tim and I hiked (briefly) in the Mojave Desert, camped in Death Valley, and stayed in a cabin in the Sierra National Forest at Shaver Lake, CA.  Minus the tarantula I almost stepped on in the Mojave Desert, the trip was exactly what I needed to unwind before the Christmas holiday.

Lava Tubes, Mojave Desert CA / photo by Tim Johnson

THIS. THIS WAS THE WORST. 

Death Valley National Park, CA

Death Valley is known as the International Dark Sky Park because of this. Photo by Tim Johnson

Kaya stealing the show.

View of Shaver Lake from 8,000 ft.

Everyone had a restful holiday, even Kaya.

#TheRestisHistory

MY SISTER IS ENGAGED AND I'M OBVIOUSLY EXCITED! It's probably not a shock that I was appointed Maid of Honor but the distance (East Coast / West Coast) makes it hard for me to make a meaningful contribution. But while I can't help shop for dresses and approve on over-priced dessert selections, I can take engagement photos, design wedding websites, and create beautiful save the dates + invitations (well...I guess those are pretty meaningful contributions). Check out a sneak peek of her colorful fall engagement shoot in north Jersey:

Trying to make a hyperactive dog cooperate: Take 1.

Take 2.


Here's to the beautiful future Mrs. Restaino ❤️

Laugavegur Trek, Iceland

Named one of the top 20 hikes in the world, the Laugavegur Trail in Iceland did not disappoint. 50 miles of incredible terrain with what we thought was great weather (just a bit of rain and wind) considering the time of year. Honestly, if you are planning a trip to Iceland, tackling this trek is a MUST. What visitors typically do in Iceland is rent a car and drive the Ring Road, stopping intermittently along the way. While that is a great way to see a lot of Iceland, there is something about seeing it through a car window that creates a disconnect. It just becomes another screen, another barrier, another lens in which you don't feel fully present and immersed. Yes, you can stop along the way and check those fantastic landmarks off your list BUT when you hike for multiple days completely saturated in the climate, you see it and appreciate it in a completely new way. The textures, the dimension, the colors, the scents, the sounds are all at your fingertips. This trek gives you everything you want: mountains, geothermal springs, volcanoes, glaciers, lush valleys, lava fields, lakes, rivers, waterfalls and more. Photos to ogle over below:

Tiny people, big mountains. 

Nothing like starting day 3, mile 35 at 5:30am. But hey, at least we got a fantastic sunrise.

Geothermal area that smells like your grandpa's farts. 

If you are looking at this image and aren't wishing you were there, then we shouldn't really be friends. Also, bonus of doing this trek in mid-September means emptier trails. 

I hate to admit that even after 4 collegiate years of sticking my body in ice buckets, I am still a wimp when it comes to cold water. Literally my least favorite part of the trek. Crossing glacial rivers is no joke—if you don't want soggy pants for 12 miles, then boots, socks, and even pants need to be taken off to cross knee deep rivers. 

Because you can't see my face or hear any audio, you can't quite grasp the level of excitement in this photo. THERE IS A HUT IN THE DISTANCE. Enough said. 

Volcano hiking essentials: heyheys tights.

Not to get all mushy on you, but the hike pretty much ends like a fairy tale with a cascadingly beautiful waterfall at the end. There was also a rainbow. Yup, I can't make this shit up. 

The one important thing to remember about this trek is that it's not a cake walk. It requires preparation and it's not for everyone. While you can tailor the amount of miles you hike in one day and you can stay in huts at night, there is elevation gain, unpredictable weather, glacial river crossings, mountain scaling, and you're carrying a bit of weight on your back. Read up on the trek and make sure you're ready to take it on. But remember, ITS WORTH IT! 

BONUS: NORTHERN LIGHTS! Magical, magnificent, spectacular, breathtaking, everything. 

Alaska: The Last Frontier

Where did my travels take me next? The great state of Alaska. What an extremely underrated place. I've heard that the demographic of tourists are people in their 60s and 70s. News flash Millennials: You are missing out on breathtaking geography that, to be honest, will not be around for much longer. You hear about the glaciers melting and global warming but have you ever really seen it first hand? Ending my rant with a PSA: Take care of the Earth and don't treat it like garbage. Also, go visit glaciers so you can appreciate them more. 

Salkantay Trek to Machu Picchu, Peru

Don't we look photoshopped? Believe us–this was the real deal.

I know it may seem out of place for my design/photo blog to feature a post about backpacking in Peru. While random, I wanted to put this helpful information out in the interweb since when Chantal and I were researching this trek, we couldn't find a lot of resources to use. Lots of blogs were either out of date, didn't answer all of our questions, or weren't completed by females. As our due diligence, here is a step-by-step guide for those fearless females (or any human really), looking to take on the Salkantay Trek completely unguided and completely by foot in 2 full days with the 3rd day hiking up the steps to Machu Picchu.

WHAT YOU NEED:
Tent with rain cover
Sleeping bag (mattress optional)
Food (optional for entire trek but very least bring snacks)

Rain jacket and poncho
1L water bottle
Gloves
Beanie
Good trekking shoes (preferably waterproof)

Plastic bags for all your things
Rain cover for backpack
Toilet paper
Camera

Sunscreen
Bug spray (optional)
Face towel
Soap
Medicine for elevation/headaches
First aid supplies
Toothbrush
Layers for cold
Loose clothes for heat
Soles $
And lots & lots of motivation!

Pro tip: these are the basic essentials. We urge you to pack AS LITTLE AS POSSIBLE since your shoulders and back will ache from the weight. Every kilo counts especially at mile 29!

And the trek begins...

OUR TREK:
Day 1: Cusco 4AM -- Soraypampa trail head 8:45AM -- Chaullay (10 soles to camp, no reservation req) 4:00PM
Day 2: Chaullay 5:55AM -- Llaqtapata 10AM -- Hidroelectrica 3:00PM -- Puente Ruinas campsite (1-2 km before Aguas Calientes. 15 soles, no reservation req) 5:35PM
Day 3: 5:00 AM start to get our tired/exhausted asses up to Machu Picchu -- Machu Picchu 7:35AM

map image courtesy of: http://www.salkantayperu.com/images/salkantay-trek-map.jpg

DAY BEFORE PREP

  • Bought Machu Picchu entrance ticket and a train ticket from Aguas Calientes (Machu Picchu) to Ollantaytambo. You can get the Machu Picchu ticket the day before you plan to go but you'll most likely be too exhausted to do so. It also motivates you to stay on schedule. You can purchase the train ticket at Aguas Calientes but tickets do sell out. 
  • Rented 2 person tent, 2 sleeping bags, and a pair of gloves each from speedy Gonzalez in Cusco in Plaza de Armas for 140 soles total. We opted not to get sleeping mats because it was just one more thing to carry. 
  • Went to the San Pedro market and stocked up on food. We opted not to bring any cooking supplies so we picked up fruits, veggies, and nuts. We also each had a granola bar from the states. Pro tip: Your fruit will get squished if you don't protect it in your bag. Also, we forgot silver wear or plates which would have been helpful. 
  • Arranged a taxi through our hostel to pick us up at 4AM and take us to Avenida Arcopata where there are collectives and taxis heading to Mollepata.

Most of the food we brought to trek with. Grossly underestimated our nutritional needs. Also got fed up with carrots. 

DAY 1 
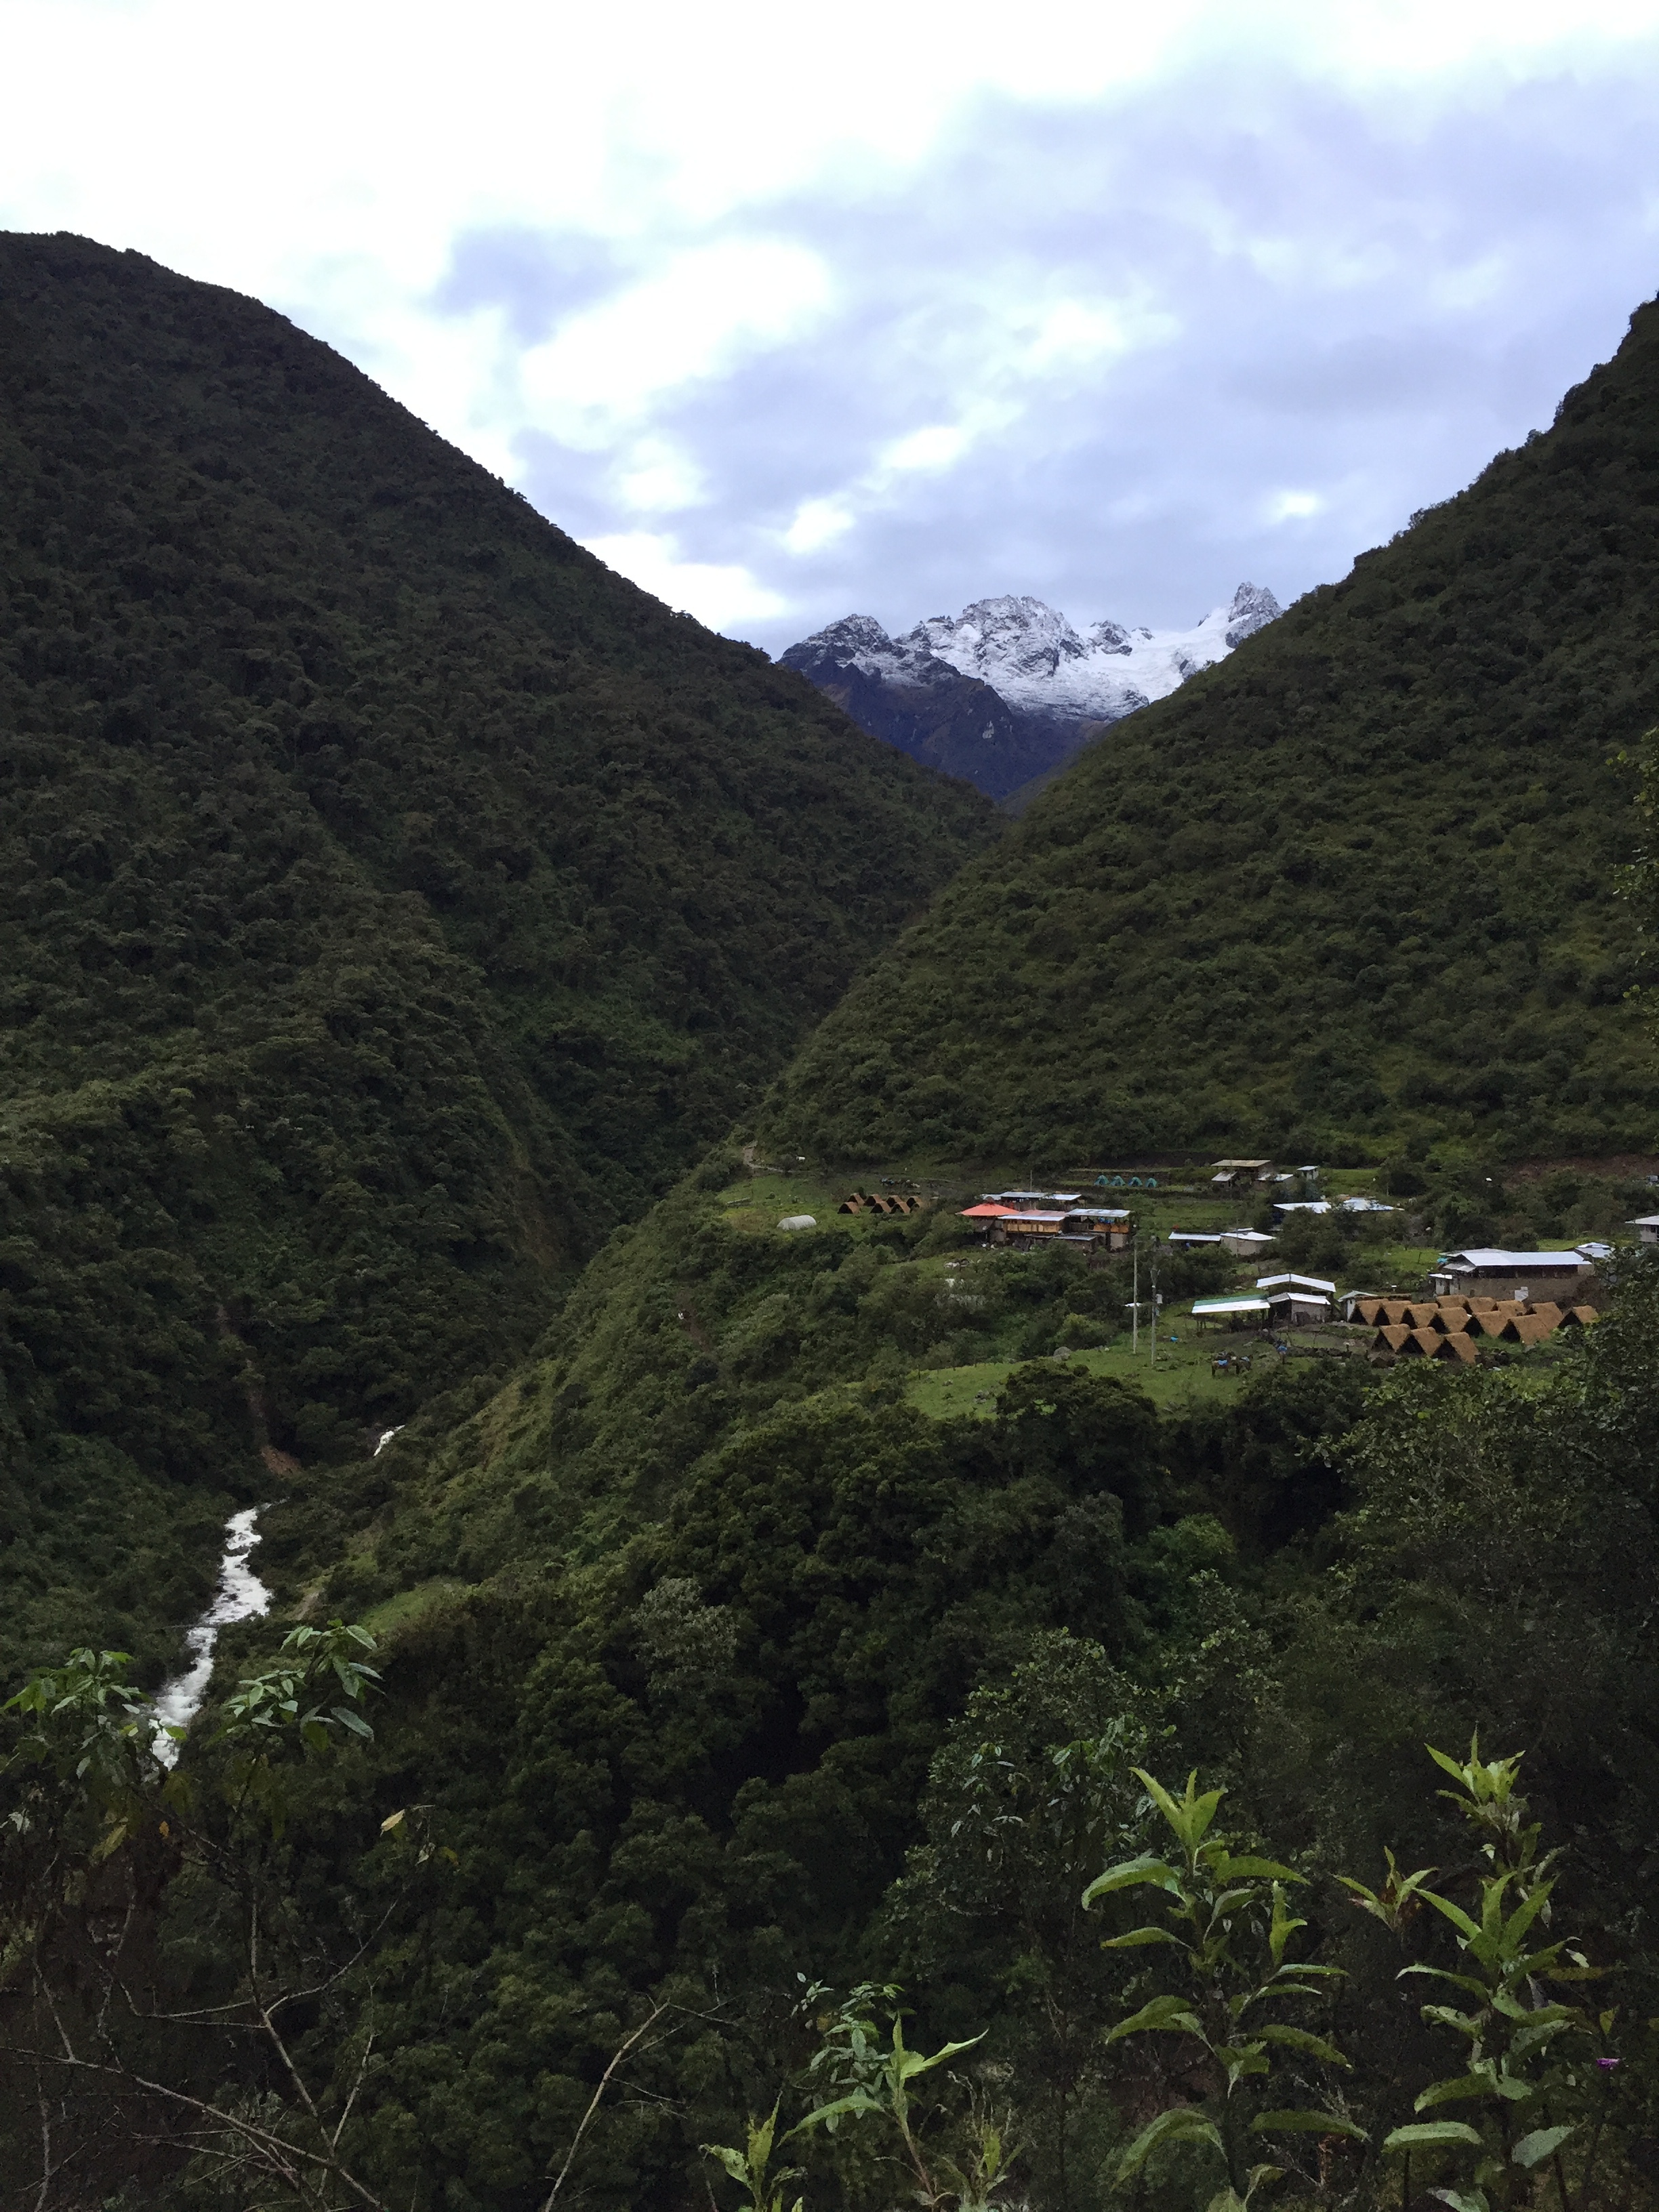
4AM: When we arrived to Arcopata, we asked if we could get a direct ride to the Soraypampa trail. We knew it would cost more but it would get us there faster. The taxi originally told us 100 soles each but when we got to Mollepata, the taxi couldn't take us further and handed us off to a guy in a truck and only charged us 90 soles each for the entire trip there. We got to Soraypampa at 8:45am and immediately started the trek. When you arrive in Soraypampa, you feel like you're dropped off in the most beautiful middle of nowhere. There are cow farms, snow capped mountain and a raging river. Just a head's up: there's no "marked" trailhead and to be honest, the trail isn't very well marked overall. There were multiple times we had to ask if we were heading in the right direction. 

These blue signs are all along the trail.

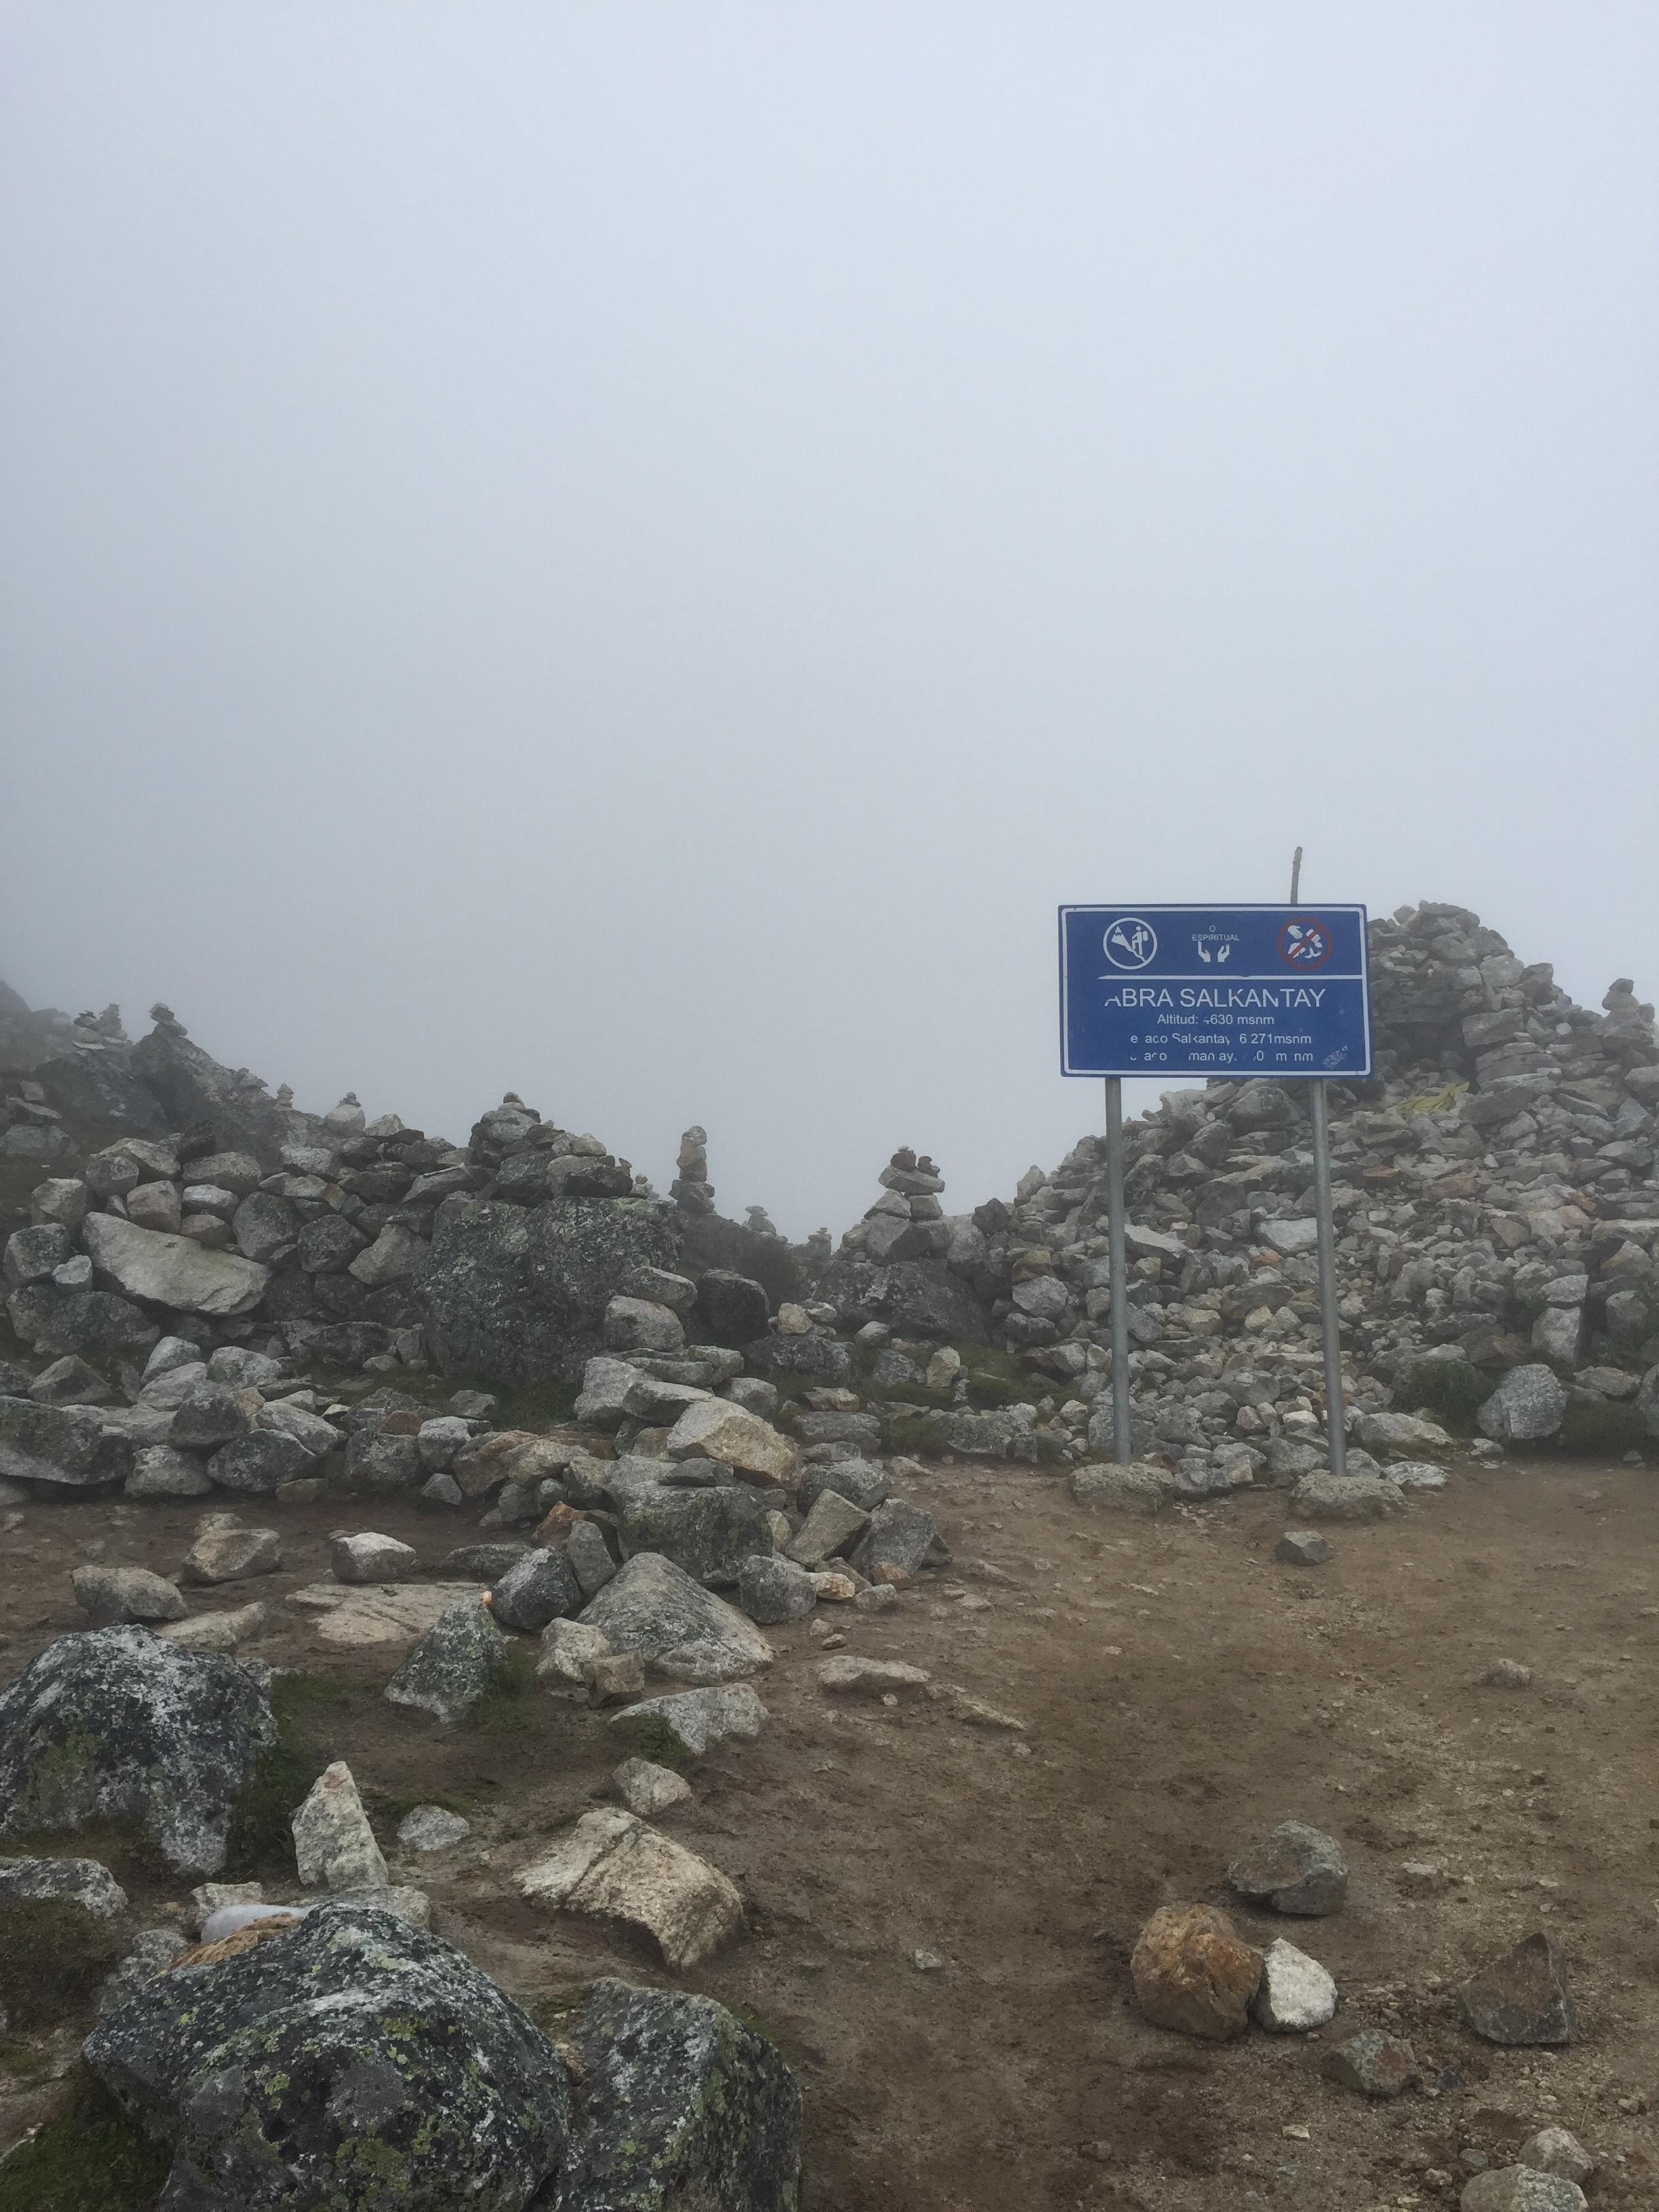
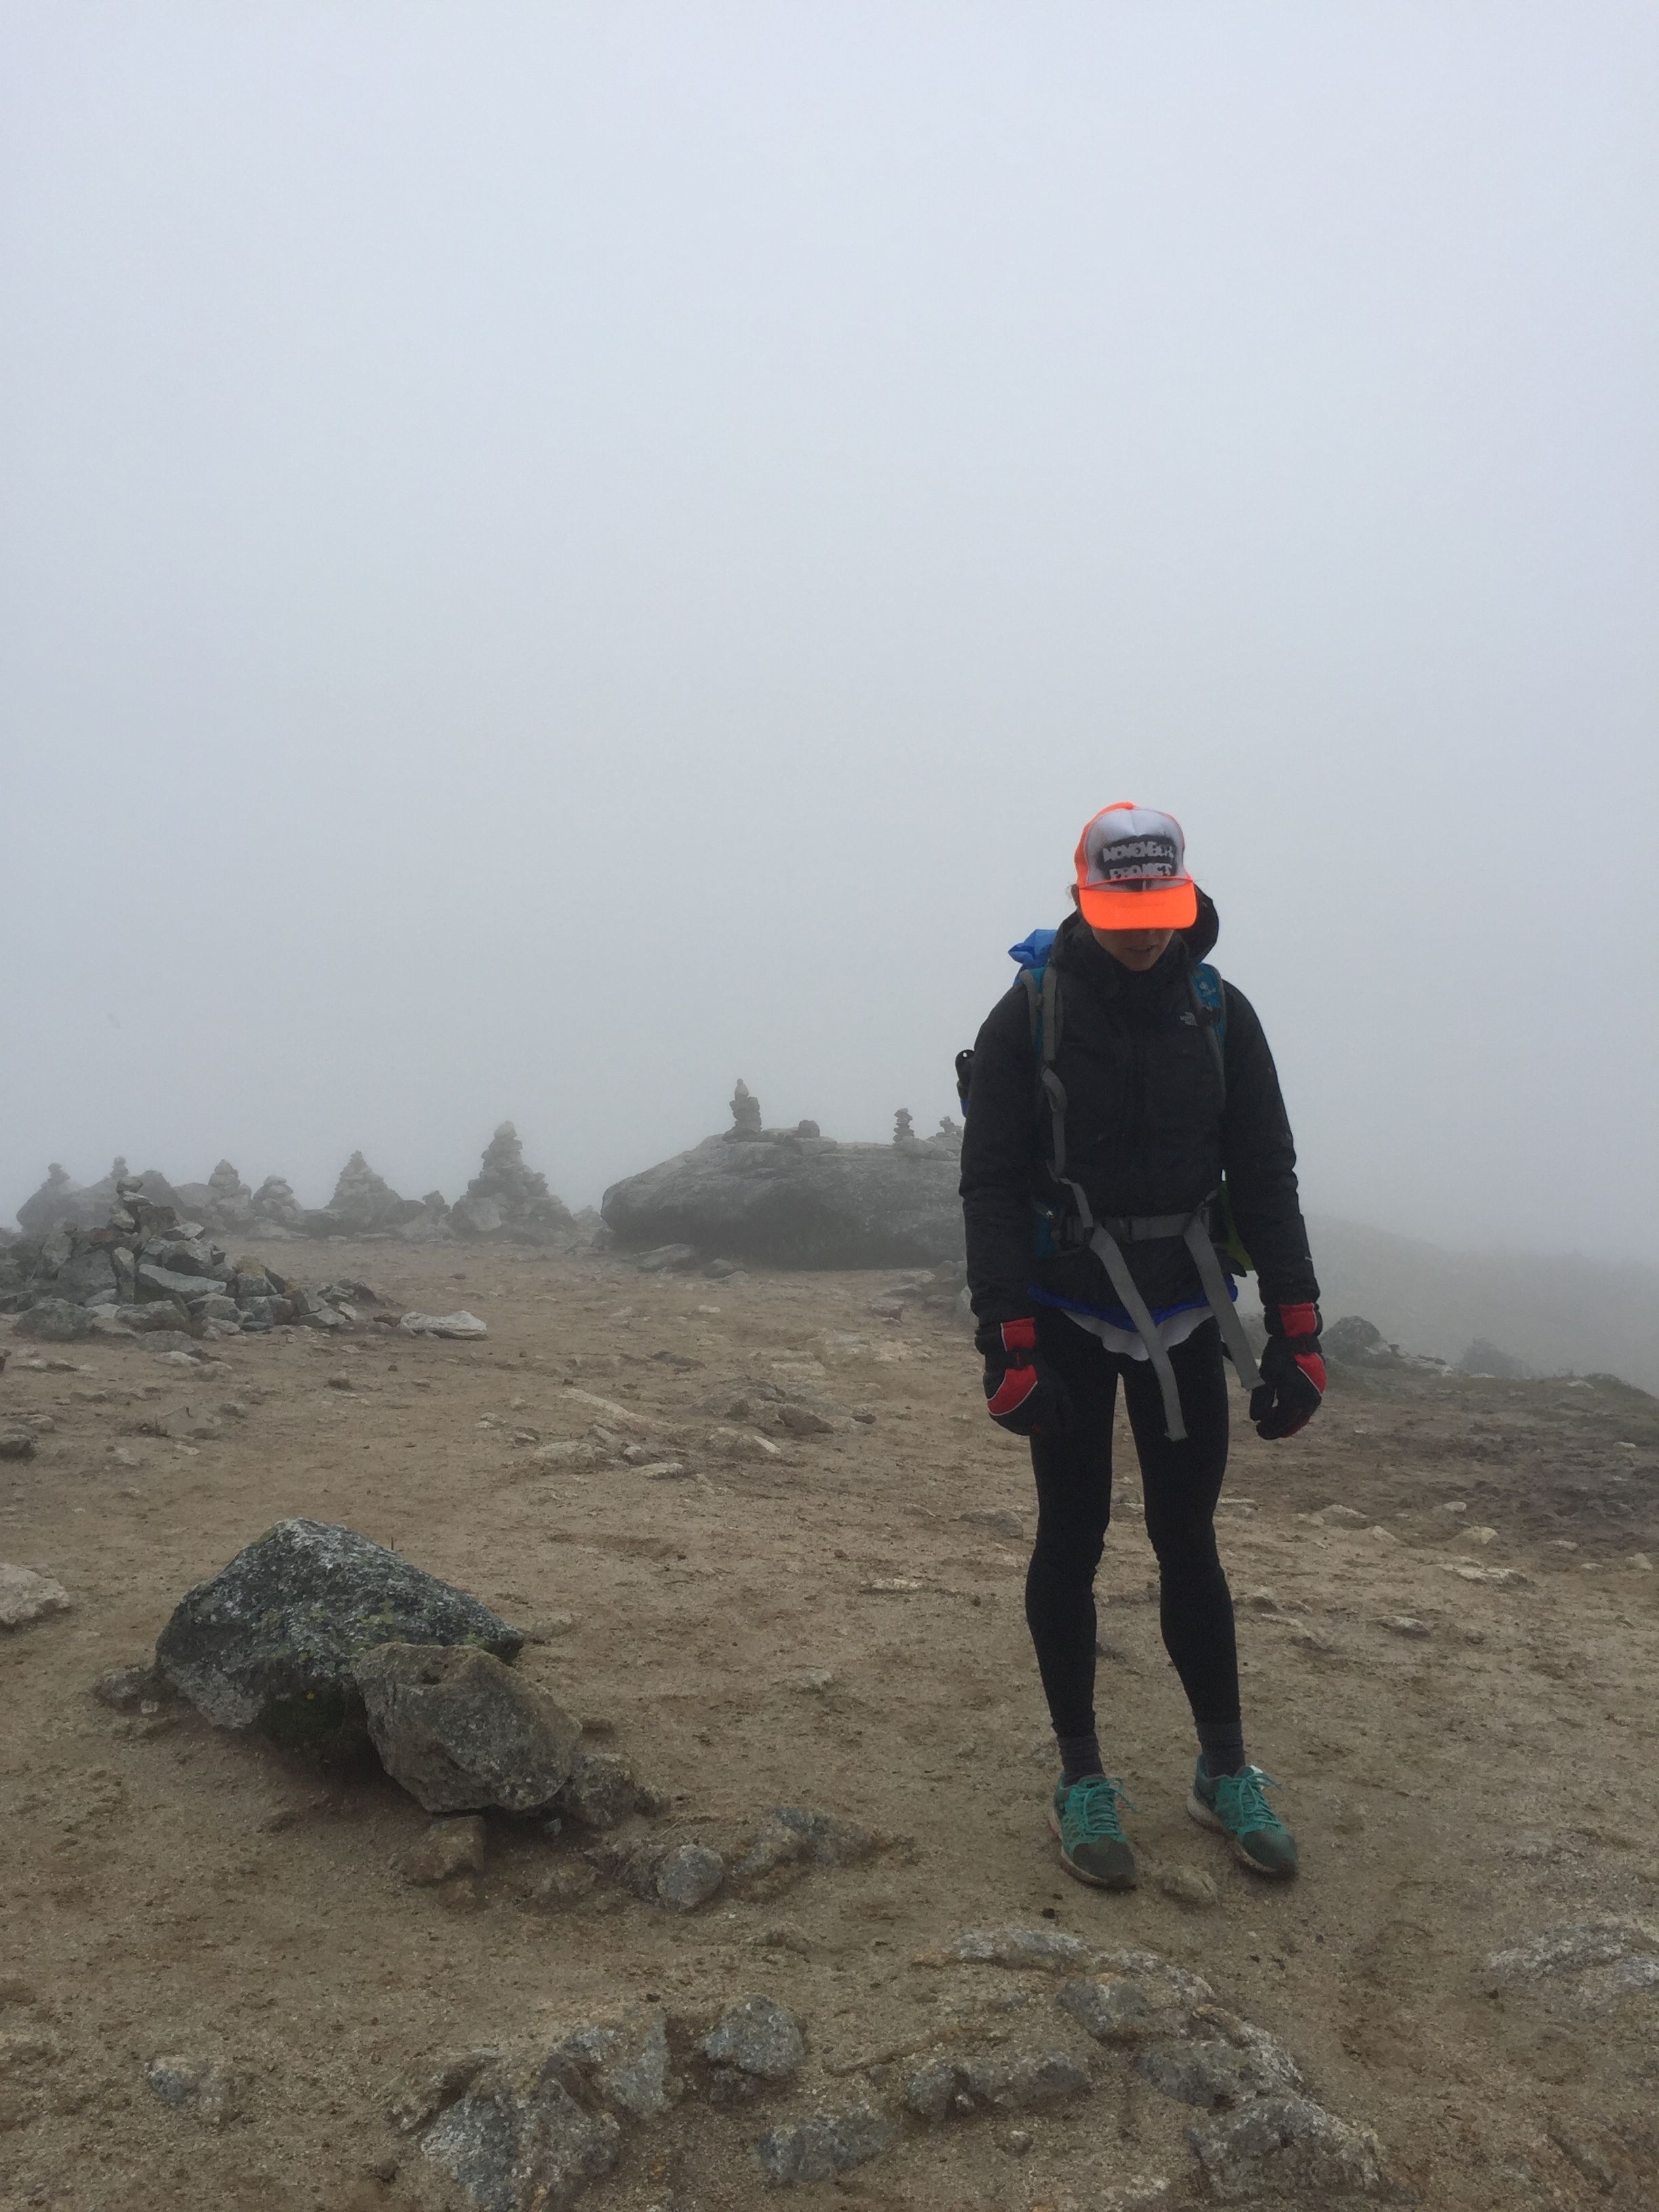
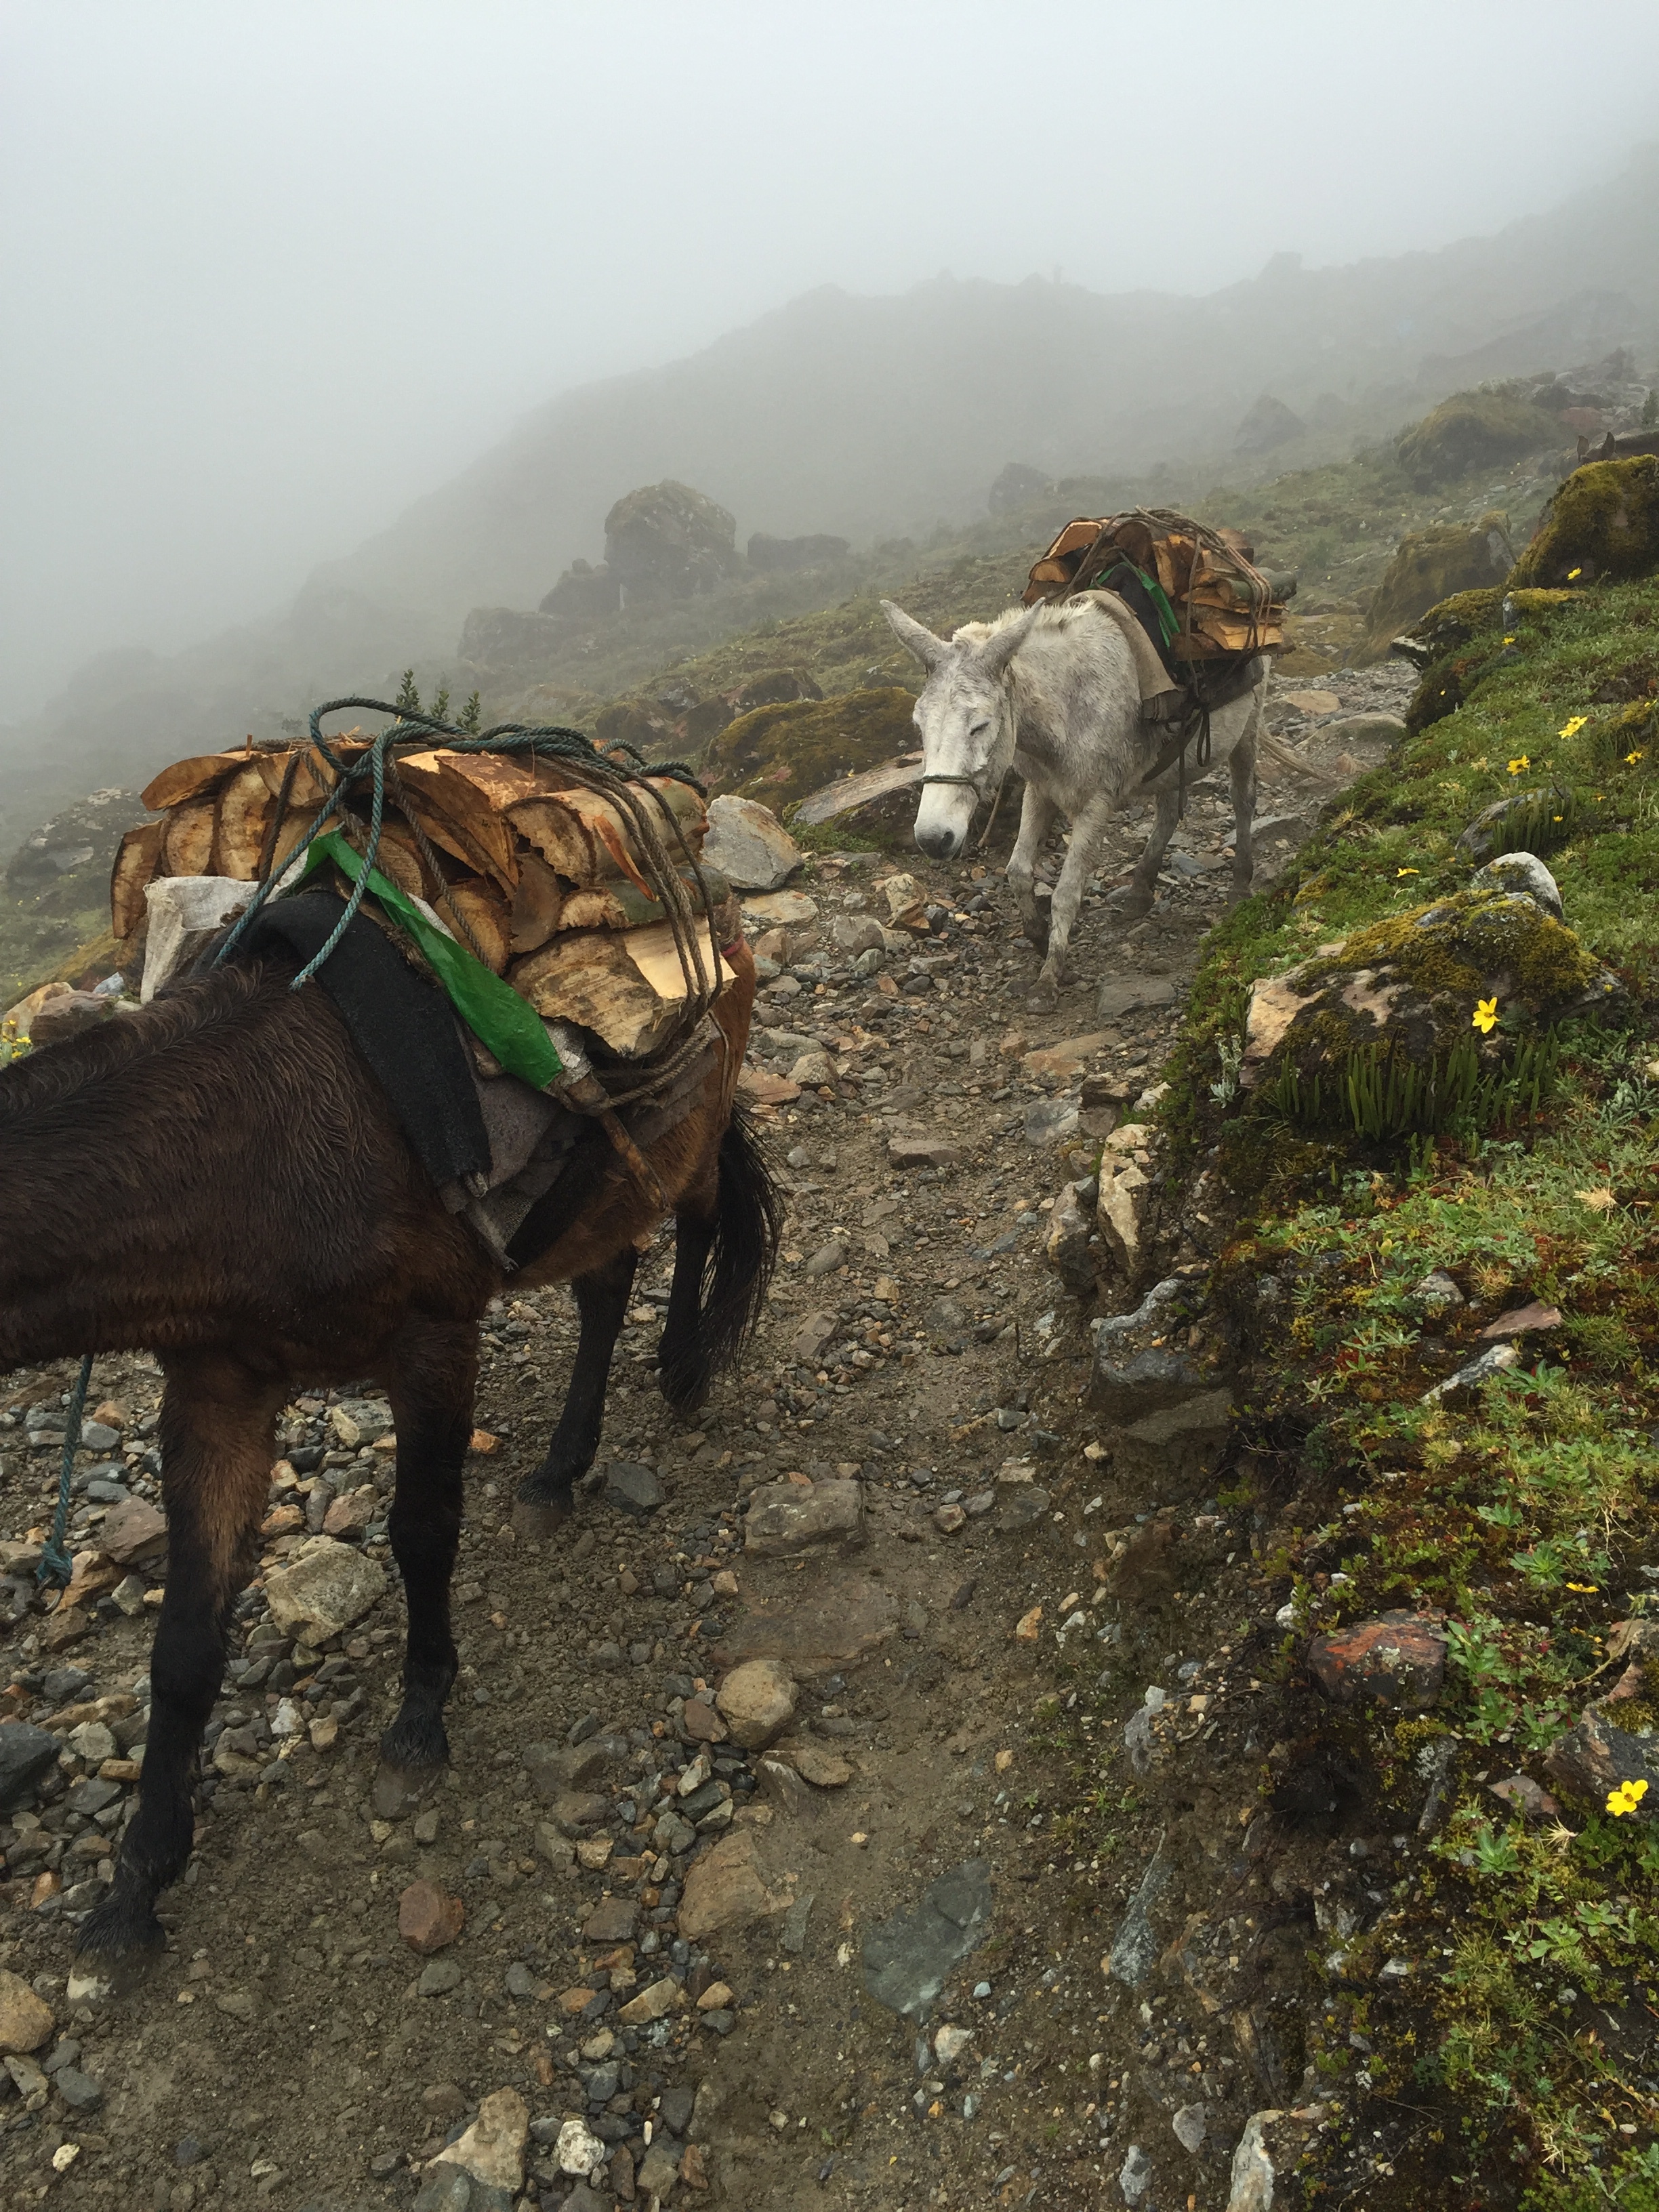
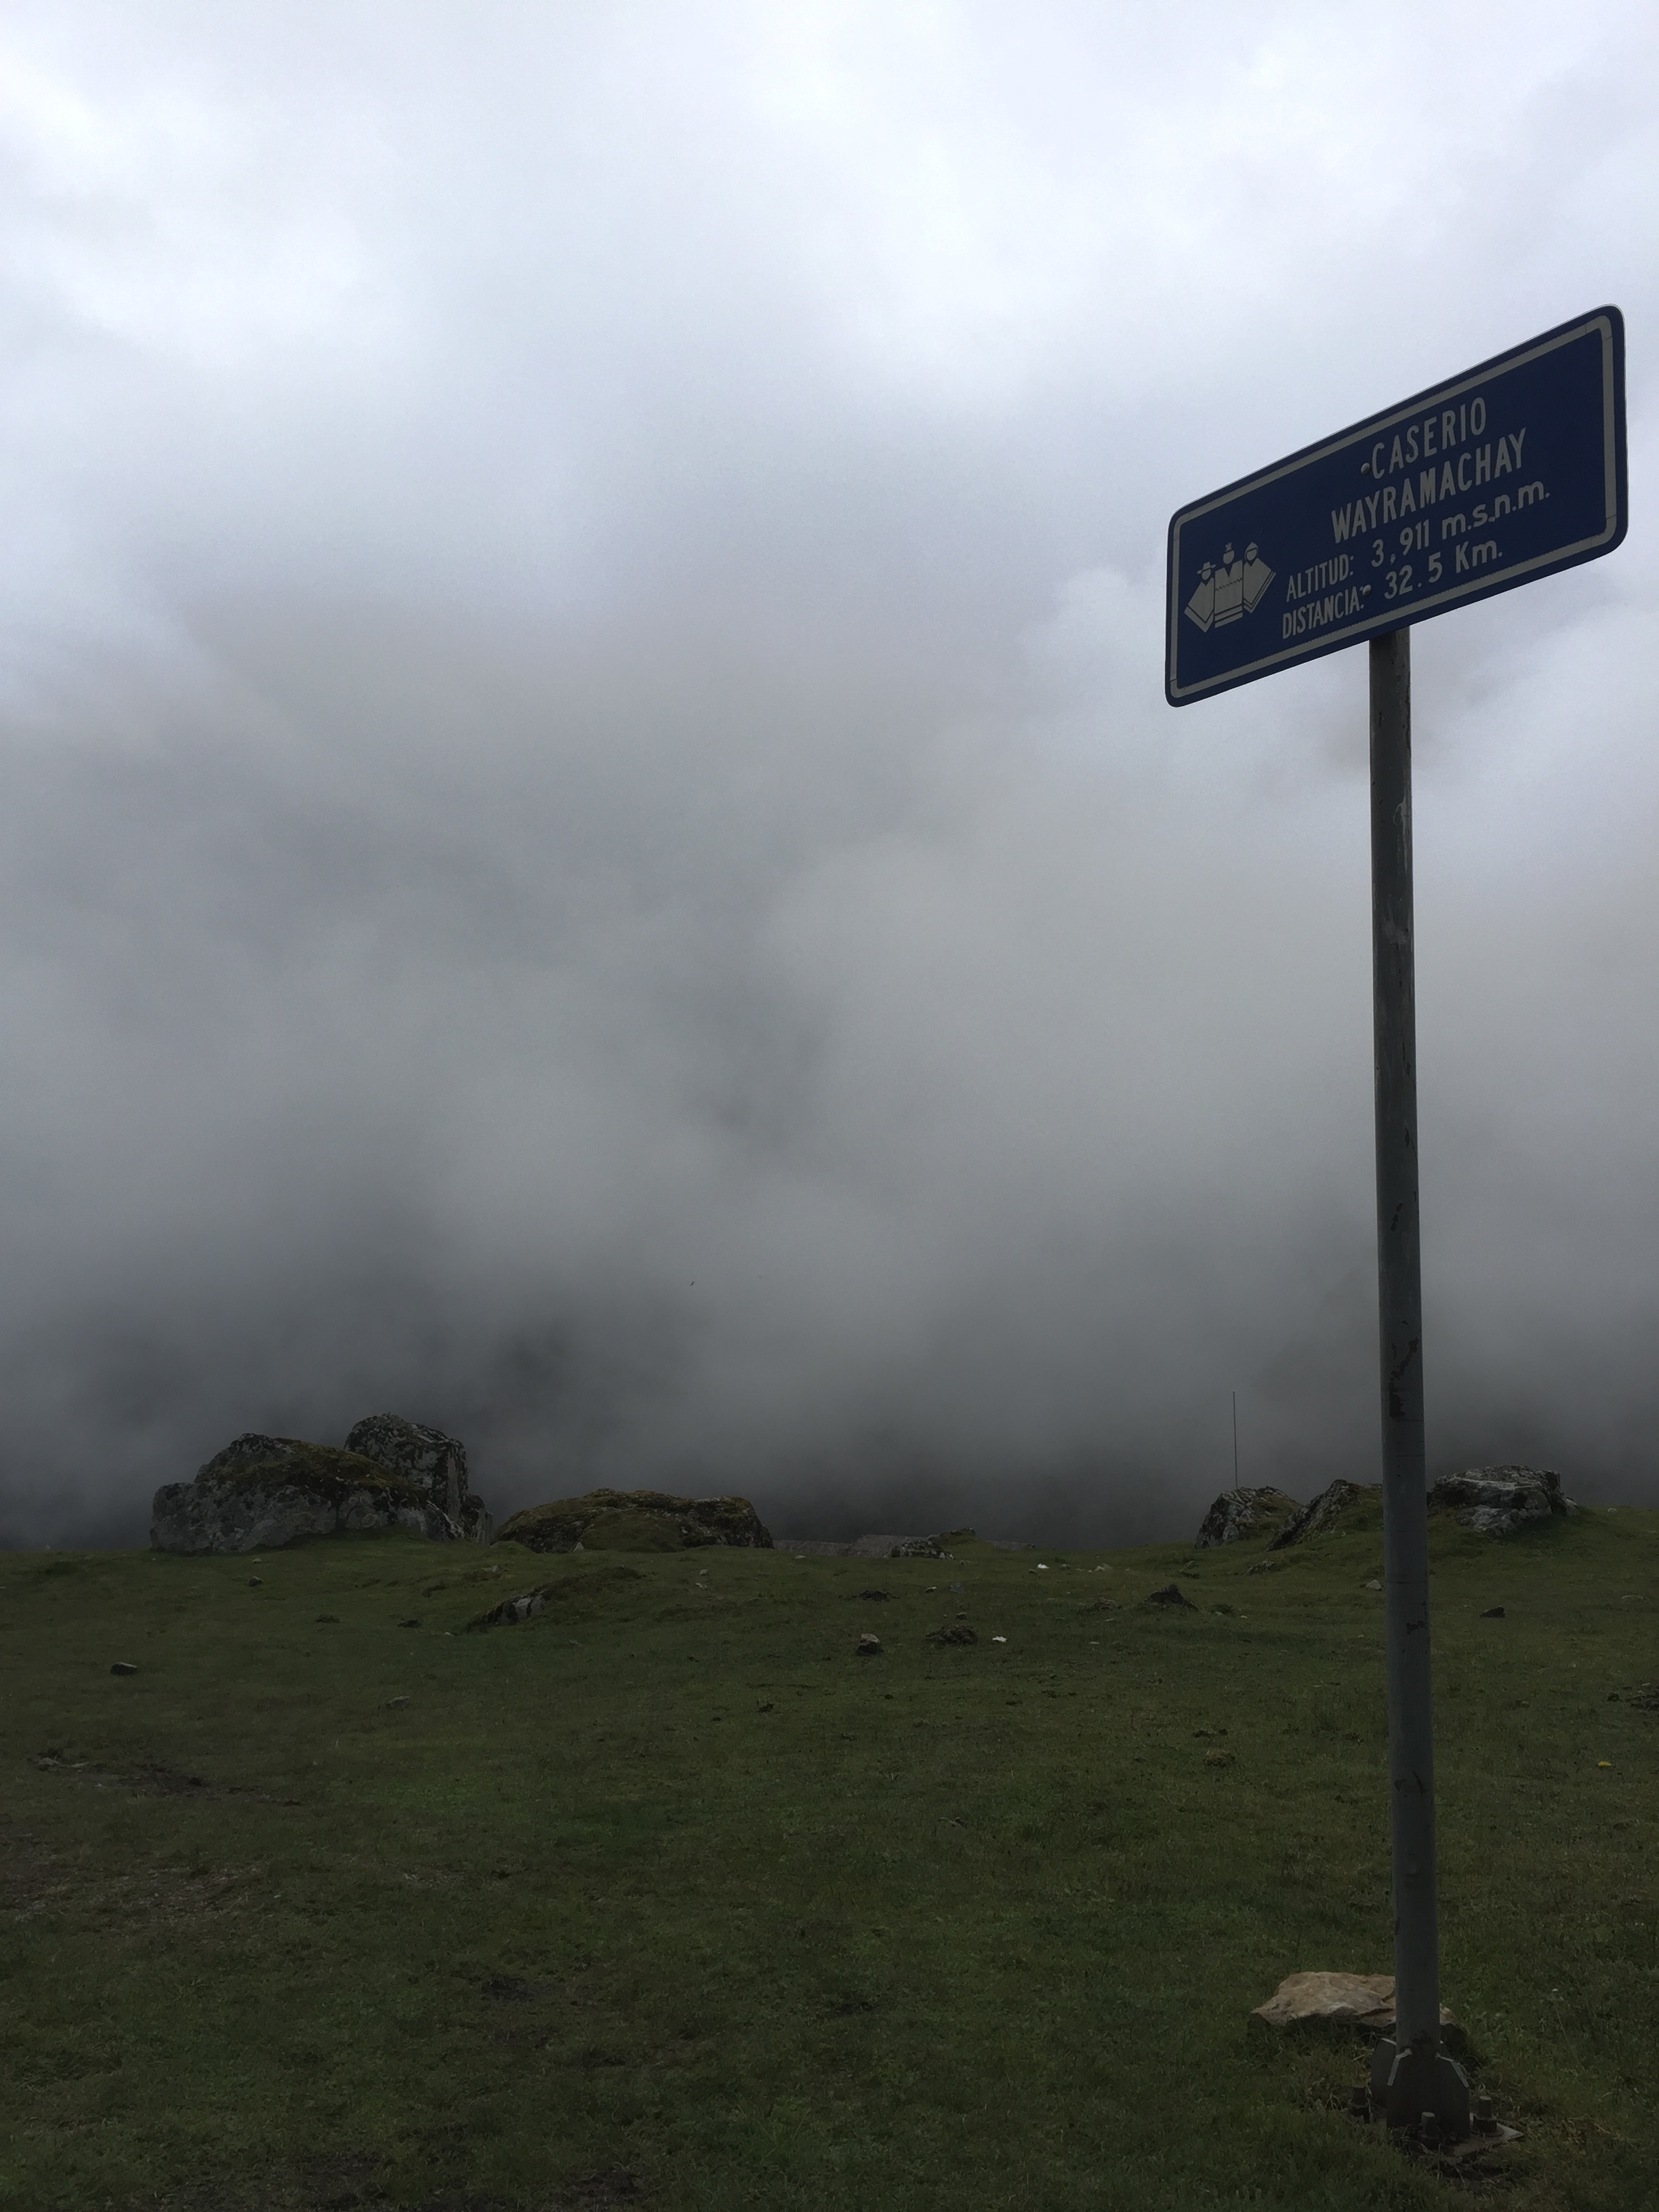
With the river at your right, follow it through some rolling hills that will eventually start turning into a steeper rocky path. If you are heading towards Salkantay Mountain, you are going the right way. The first few hours are all uphill with extreme elevation gain. You are also starting at a high elevation so be prepared to be walking slower and struggling right off the bat. There are a few blue signs that work as check points along the trek. They will become your best friend because when you see those—they absolutely lift your spirits. You'll pass 2 blue signs before reaching the summit which is: Abra Salkantay. It's very rocky and when we were there it was a cold deserted wasteland. The rest of your day will be either flat or downhill! If you're following the river you know you're going the right way. Pro tip: the path tends to have a lot of forks in it. It's just different short cuts that have been created over the years. The path always come back together. There's a campsite that guided tours use before Chaullay. It's called Caserio Wayramachay. From there it took us less than 3 hours to make it to Chaullay. It's not a typical campsite since there's a hostel there. They offer food, water, and even hot showers for a price. We just got water and they had us pitch our tent in a covered area that acts like a dining room for hostel guests. There were 3 other tents pitched in that room but were all from guided treks. We were lucky to be under a cover since it poured all night. Luckily in the morning the rain stopped!

DAY 2
Leave no later than
6am since you'll need all the daylight there is and just prepare yourself for a 12 hour day(!). From Chaullay, you'll be walking downhill/flat for about 3 hours to La Playa. There's a point in the beginning of the day where the road forks and one path leads uphill. Choose the path that goes downhill. Much to our surprise, there are quite a few tour groups that get bused to the next location (cheaters). You should reach La Playa no later than 9:30am. The town seems like it's mostly across the river so it's a bit underwhelming when you walk through it. Pass through the town and in about a half hour you'll see a sign for Llaqtapata on your right and a grassy path with a few market stands/hostels.

Signs for the Llaqtapata pass. Be warned: you're about to add 7 miles of fun!

At this point, you can either choose to continue on the road towards Santa Teresa or take the "road less traveled" to Llaqtapata. Since we didn't go to Santa Teresa we can't offer much insight on that route. We chose to go through Llaqtapata because we heard it was a a beautiful path with outstanding views. Be aware that in order to hike up Llaqtapata, the weather needs to be decent. The downhill portion is extremely muddy, slippery, and rocky. If you add fresh rain to that, it will make it very difficult to get down. Lucky for us it was very sunny outside so taking the Llaqtapata route was an obvious choice. The sign says that the Llaqtapata portion is 11.9 km., which means you are doing about 3.5 miles uphill and it could take about 2 hours. The hike is not as steep as the first day however, with the sun and elevation, it becomes very difficult. You know you've reached the summit (yay!) when you see a sign for a lodge that has the "best views of Machu Picchu". The sign says it takes 20 minutes to reach the lodge but you'll already start to trek downhill. You'll pass through a ruins and it may get confusing as to which way to go so follow the sign for the camping site which is on the left side of the ruins. From there, it should take about 5 minutes until you reach the lodge, which is where we got water and enjoyed "the best view of Machu Picchu." It's actually incredible to see that ruin from a completely lateral perspective. It was also crazy to know that the next day we would be there. From here, continue going downhill for about 2 hours on a very slippery, muddy path. Eventually, you'll start seeing more little market vendors and the raging river will start get louder and louder. 

Very hot day with not a lot of shade on the upwards hike. Insane views though! 

By 2PM we were mostly through the Llaqtapata but we still had to pass through Hidroelectrica to Aguas Calientes. Once you leave the mountain, you cross a suspended bridge and are hiking at the same level of the river. The next part that tripped us up was finding our way to Hidroelectrica. You'll eventually trek to a bit of a three-way fork in the road. One path will lead you to another bridge that has buildings in the side of the mountain. Another path that is straight ahead will lead you nowhere. The third path heads to the left and looks as though it goes through an underpass through the mountain. The path on the left is the one you want. Continue that way until you reach a small building that will ask for your passport and signature. Since this is one of the main transportation ways to Machu Picchu, they record all visitors. From here you aren't very far from Hidroelectrica–maybe 15 minutes. This town is pretty busy with lots of shops but it's more used as a train station stop to get to Aguas Calientes. Since we were determined to get there by foot, we opted to not take the train and walk the tracks instead. You will see quite a few signs that say that walking the tracks is prohibited. While walking ON the tracks is illegal, there are paths along the tracks that are okay to trek on. When we were trekking along the tracks, we saw over 50 people walking along as well (I want to note that they were mostly passing us since they did not start from Chaullay that day like we did). Starting at the train tracks, make sure you follow the tracks to the right where they turn up. There's a small incline but eventually it flattens out. This was probably our least favorite and most arduous part of the hike. We knew how close we were but we'd been hiking for about 10 hours and this portion takes about another 1.5/2 hours (depending on how tired you are). The path is very rocky and there are points where you have to walk on the tracks. This sign below has become our most hated sign in the history of signs because after almost 12 hours of hiking, the sign said we still had 4km to go. Unreal.

7km walked...4km to go. Or so we thought.

The camp site is actually closer to Machu Picchu than Aguas Calientes so instead of it being 4 more kilometers, is was only about 2. Thank god! We arrived at our campsite at 5:30pm, right before it started getting dark. This campsite is a bit more organized since it's so close to Machu Picchu and frequently used. They designated a spot for our tent and it was 15 soles to camp there. They had a bathroom with showers that you could pay for but since we didn't even have towels, it was pointless to even think about personal hygiene. 

Unfortunately for us, it rained the entire night into the morning. Our rain guard was helpful but I'm sure we put it on wrong and a bit of moisture leaked into our tent.

DAY 3: MACHU PICCHU
4:30AM: Machu Picchu opens up at 7AM and we were told it takes about an hour to get up the stairs to the entrance. We were advised to leave our campsite around 5AM to start the trek. Putting away our rain soaked tent in the pitch black morning was no fun task but we noticed that a lot of the tents that surrounded us the night before were already gone. To get to Machu Picchu, you head __________ where you'll see a few buses and groups of people. There will also be an attendant there checking passports and Machu Picchu tickets. Once you have that taken care of, cross the bridge and you'll see a sign for Machu Picchu. Unfortunately the sign for us was in the dark.

Last day of trek essentials: poncho, flashlight, and motivation. 


At this point–BRACE YOURSELF–because you are about to ascend the 3000 (no not a typo) steps. While the elevation gain isn't as much as Day 1, I thought this was the hardest part of the entire trek. I think the combination of knowing that this was the last part of the journey and the fact that I had trekked over 30 miles in the last two days made it probably the least enjoyable part. I was also layered up for a cold damp morning but the humidity was out of control making my poncho like a greenhouse. After an hour and a half of constant chants of "one more step, one more step," Chantal and I made it to the entrance of Machu Picchu.

Was it hard? Fuck yeah. Was it worth it? Absolutely. We hope we gave you the tools you need to go out and be badass on your own. Questions? Just shoot me an email.

NPSF: Tinder Monday

November Project: San Francisco | Aquatic Park, SF | © 2016

On February 15th, the SF tribe met near Fort Mason to do a Valentine's Day themed workout that was deemed "Tinder Monday." I mean, what better way to celebrate love and relationships than with 'swiping right'? It was 30 minutes filled with hugs, high fives, partner work, and excuses why you needed to bail on said partner. Ah, yes. Love was in the crisp morning air.


REGION 15 ACUI STEAL THIS IDEA COMPETITION

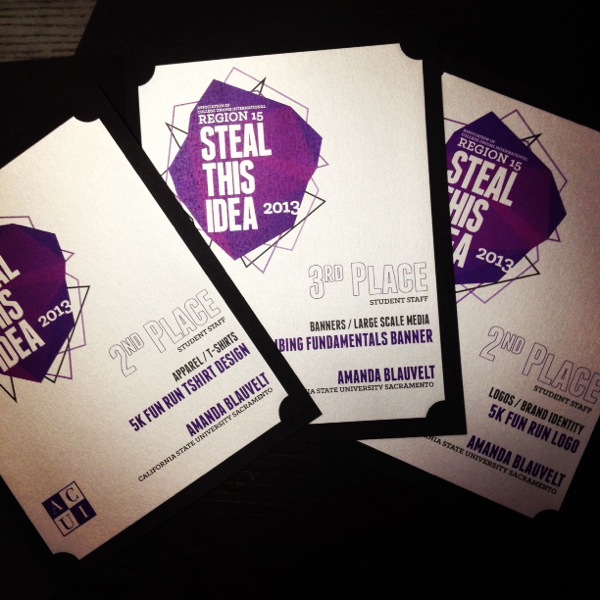
This is my first year submitting work to the Steal This Idea competition for the annual ACUI Conference and I won 3 awards in 3 different categories! Although I didn't bring home any gold medals, I won two silvers and a bronze (you like how I used sports terms). Very proud to own non-gymnastics accolades for once and excited for next years competition!

2014 HORNET TSHIRT DESIGN II

When asked to design a tshirt for the Sac State gymnastics team, I showed the assistant coach several concepts. Because we are the Hornets, ever since I was a freshman I heard the phrase and cheer "buzz'em, beat'em, swarm'em, sting'em".  I decided to do a hand lettered approach, and picked a style that had spurs to represent stingers. The tshirt had to be one color but it definitely has potential to be very colorful. I have to thank Erik Marinovich for the inspiration. 

the mockup

2014 HORNET GYMNASTICS TSHIRT DESIGN

I was on the Hornet gymnastics team for four years and was the social media coordinator for the next two. Do you know how many times I was given the opportunity to design the team shirt? ZERO - until now... The new assistant coach let me take a stab at the team shirt for this year and I came up with a new tagline and the design was inspired by Jon Contino's shirt he did for Nike. So excited to see these shirts printed in a few weeks!

the final mock up

CLIMBING FUNDAMENTALS INSTALLATION

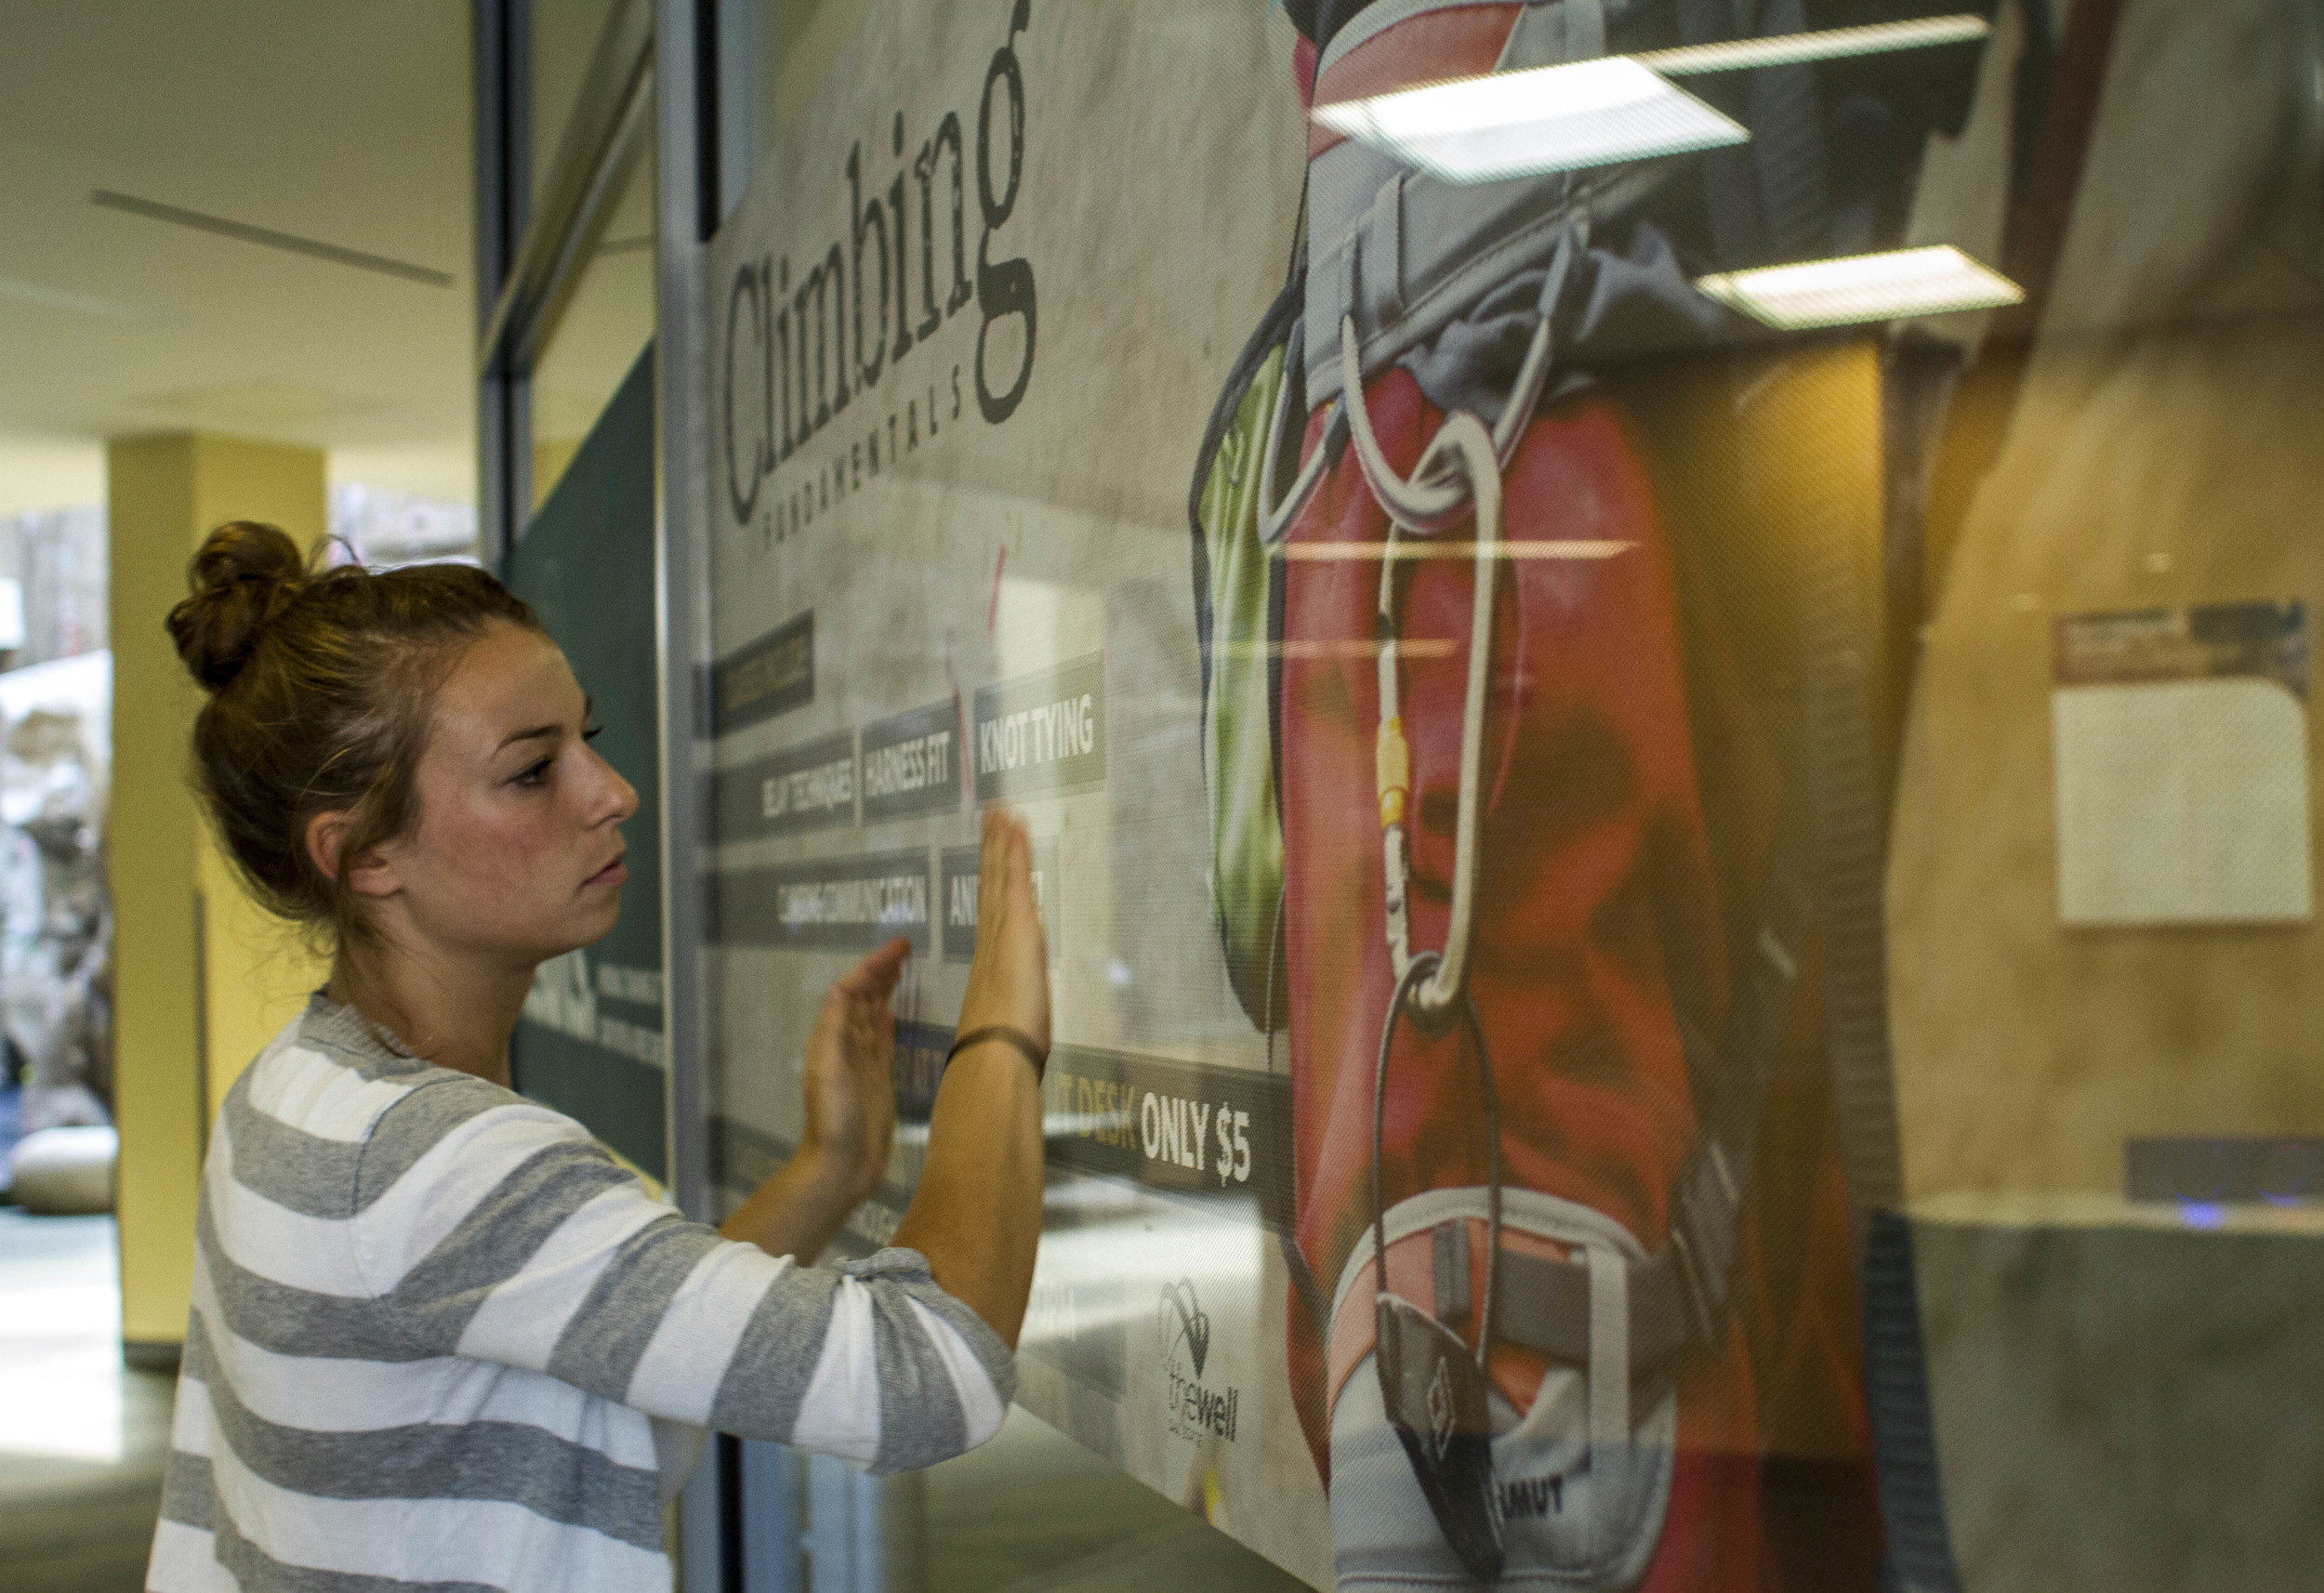
The marketing collateral for the 'Climbing Fundamentals' project included a 93 inch wide window display that's printed on perforated vinyl. After having it printed for 3 weeks, I finally had the chance to install it in the entrance way of The WELL where every guest will see it as they enter the building. These things are a pain in the butt to install but look so rad when they are done. I'll be posting the entire project soon!

Trying to get all the bubbles out of the piece

I'M A TEMP!

Since graduating in May I've really took time to figure out what my next 'move' was going to be. I know I'm definitely ready for a career (that's what six years of school will do to you) but I wasn't sure exactly where. After visiting my beloved Jersey Shore and being in NYC on July 3rd, I knew that the city wasn't for me at this time in my life. California has mellowed me out too much to handle the hustle and bustle of the Big Apple. With my internship winding down, I've been scoping out the job field in the Bay Area but then ran into an amazing opportunity that would extend my time in Sacramento. I was granted the amazing opportunity to continue my position at The Lab where I intern now but as a full-time graphic designer for 120 days! A full-time designer just accepted a designer position elsewhere and as they get the position ready for posting, and HR, and all that jazz, I am going to fill in for him. As said by Ashton Kutcher in his recent Teen Choice Awards speech, "Opportunity looks a lot like hard work." Amen to that. 

my 'temporary' business card for my temporary job

PLAYING CARD SUCCESS

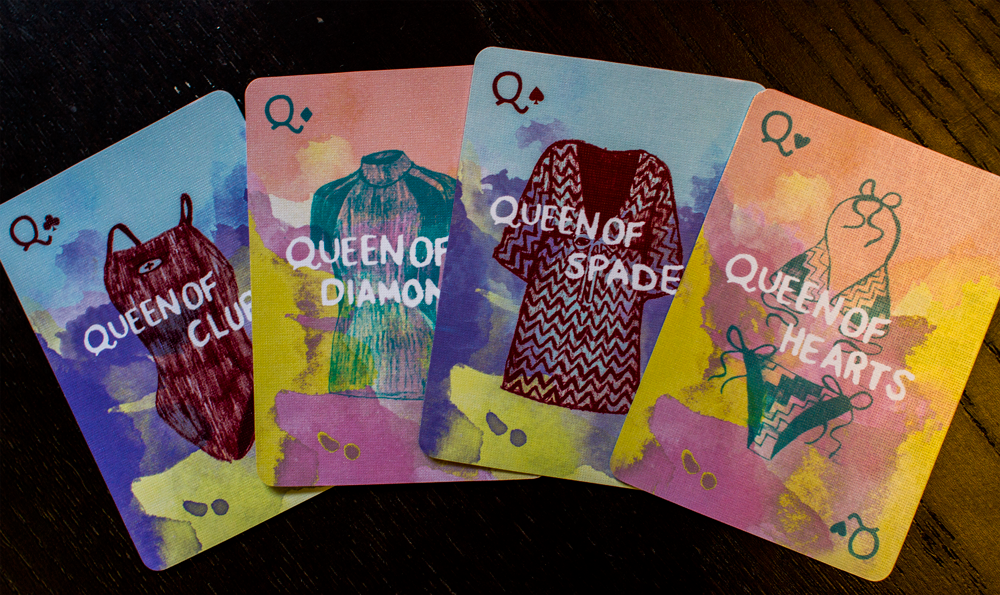
So it took me over 8 months, but I finally did it. I finished my deck of playing cards! In October of 2012, my advanced graphic design class was assigned to create playing cards to practice designing in systems. We were only required to create 16 cards, which is just a little over a quarter of a deck. I wanted to finish the deck and get them printed but homework, work, and other things go in the way. Once school was over in May, I made it my mission to finish the deck and I am happy to announce today that it is officially done! Now who's down for a vicious game of SPOONS?

back of cards

queens